Essential Sourdough Baking Tips for Beginners

Sourdough baking is an art that combines science, patience, and a touch of creativity. If you’re new to this delightful world, you might feel overwhelmed by the myriad of techniques and terminologies. Fear not! This guide will walk you through essential tips to help you create your first loaf of sourdough bread with confidence.
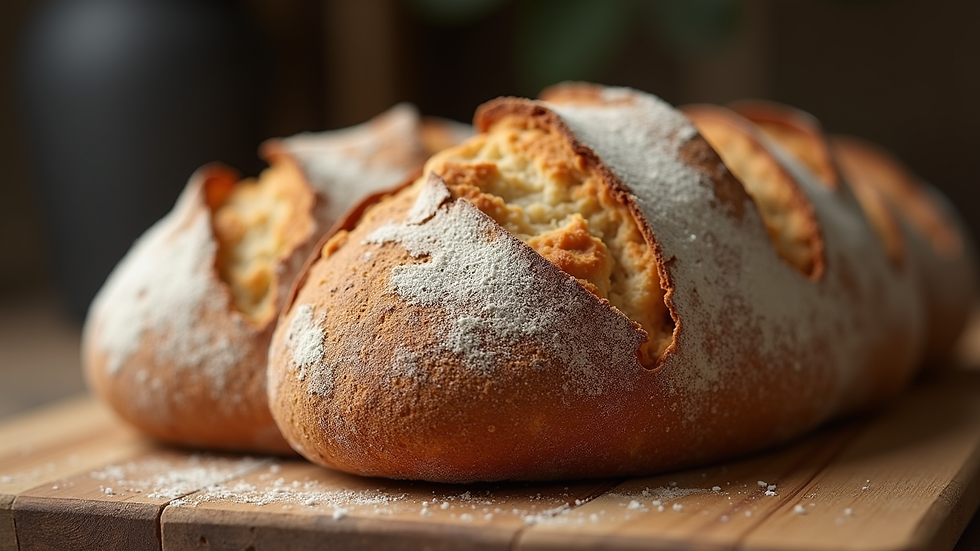
Understanding Sourdough
Before diving into the baking process, it’s important to understand what sourdough is. Unlike commercial bread, which uses store-bought yeast, sourdough relies on wild yeast and lactic acid bacteria present in the environment. This natural fermentation process gives sourdough its unique flavor and texture.
The Basics of Sourdough Starter
A sourdough starter is a mixture of flour and water that captures wild yeast and bacteria. Here’s how to create your own starter:
Ingredients:
Whole wheat flour
Water (filtered or bottled is best)
Instructions:
In a clean jar, mix equal parts flour and water (about 100 grams each).
Stir until there are no dry bits of flour.
Cover loosely with a lid or cloth and let it sit at room temperature.
Feed your starter daily by discarding half and adding fresh flour and water.
The Importance of Hydration
Hydration refers to the ratio of water to flour in your dough. Higher hydration levels lead to a more open crumb structure and a chewier texture. Beginners often find a hydration level of around 70% manageable. This means for every 100 grams of flour, you’ll use 70 grams of water.
Essential Tools for Sourdough Baking
Having the right tools can make your sourdough baking experience smoother and more enjoyable. Here’s a list of essential tools:
Digital Scale: Accurate measurements are crucial for consistent results.
Mixing Bowl: A large bowl for mixing your dough.
Bench Scraper: Useful for handling dough and cleaning surfaces.
Dutch Oven: Creates a steamy environment for baking, which helps achieve a crispy crust.
Lame or Sharp Knife: For scoring your dough before baking.
Step-by-Step Sourdough Baking Process
Now that you have your starter and tools ready, let’s walk through the sourdough baking process.
1. Autolyse
Start by mixing your flour and water (without the starter and salt) in a bowl. Let it rest for about 30 minutes to an hour. This process helps to hydrate the flour and develop gluten, which is essential for the dough's structure.
2. Mixing
After the autolyse, add your sourdough starter and salt to the dough. Mix until fully incorporated. You can use the pinch-and-fold method to ensure the salt is evenly distributed.
3. Bulk Fermentation
Place your dough in a lightly greased bowl and cover it. Let it rise at room temperature for 4 to 6 hours, depending on the ambient temperature. During this time, perform stretch and folds every 30 minutes for the first two hours. This technique helps strengthen the dough.
4. Shaping
Once your dough has doubled in size, it’s time to shape it. Gently turn it out onto a floured surface and shape it into a round or oval loaf. Use your bench scraper to help with this process.
5. Proofing
Transfer your shaped dough into a proofing basket (banneton) lined with a floured cloth. Cover it and let it proof for 1 to 3 hours at room temperature or overnight in the refrigerator for a more developed flavor.
6. Preheating the Oven
About 30 minutes before baking, preheat your oven to 450°F (232°C) with your Dutch oven inside. This ensures that the pot is hot enough to create steam when you place the dough inside.
7. Scoring and Baking
Once your oven is preheated, carefully remove the Dutch oven. Gently flip your dough onto a piece of parchment paper. Use a lame or sharp knife to score the top of the loaf. This allows the bread to expand while baking.
Place the dough (with the parchment) into the hot Dutch oven, cover it, and bake for 30 minutes. After that, remove the lid and bake for an additional 15 to 20 minutes until the crust is golden brown.
8. Cooling
Once baked, transfer your sourdough loaf to a wire rack to cool completely before slicing. This step is crucial as it allows the crumb to set properly.
Common Mistakes to Avoid
Even seasoned bakers can make mistakes. Here are some common pitfalls to watch out for:
Using Cold Ingredients: Always use room temperature water and starter for better fermentation.
Skipping the Autolyse: This step is vital for gluten development.
Overproofing: Keep an eye on your dough; overproofed dough can collapse in the oven.
Not Scoring Deep Enough: A good score allows for proper expansion and a beautiful crust.
Troubleshooting Your Sourdough
If your sourdough doesn’t turn out as expected, here are some troubleshooting tips:
Dense Bread: This could be due to underproofing or not enough gluten development. Ensure you perform stretch and folds during bulk fermentation.
Flat Loaf: This may happen if the dough is overproofed. Keep track of your dough’s rise.
Crust Too Hard: If your crust is too hard, try reducing the baking time or lowering the oven temperature slightly.
Enhancing Flavor and Texture
Once you’re comfortable with the basics, consider experimenting with different flours, hydration levels, and add-ins like seeds, nuts, or herbs. Each variation can create a unique flavor profile and texture.
Conclusion
Baking sourdough bread is a rewarding journey that requires practice and patience. By following these essential tips and understanding the process, you’ll be well on your way to creating delicious loaves that you can be proud of. Remember, every baker has their unique style, so don’t hesitate to make this process your own. Happy baking!
Comments